|
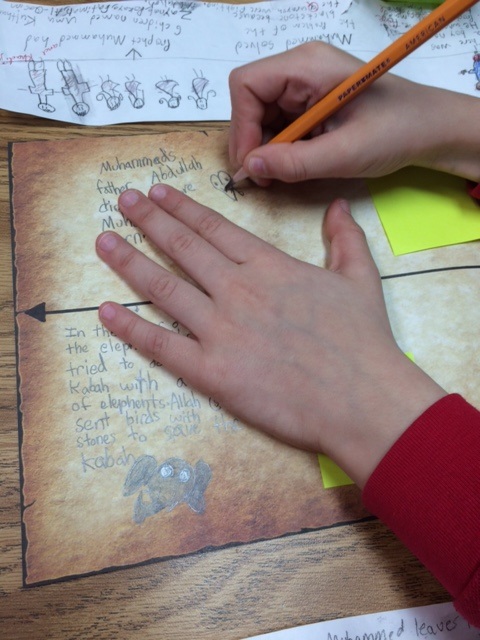
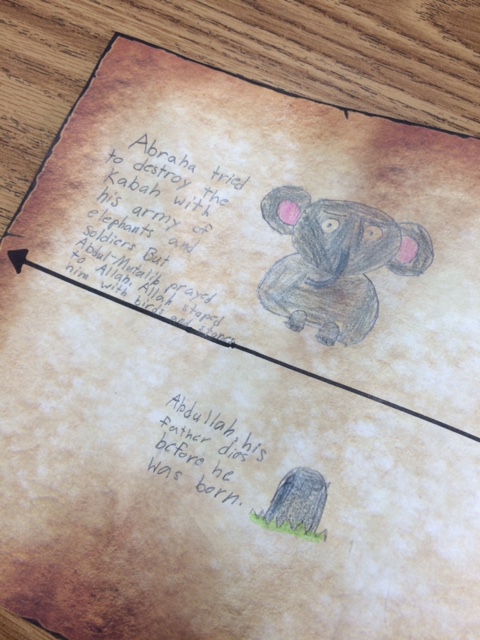
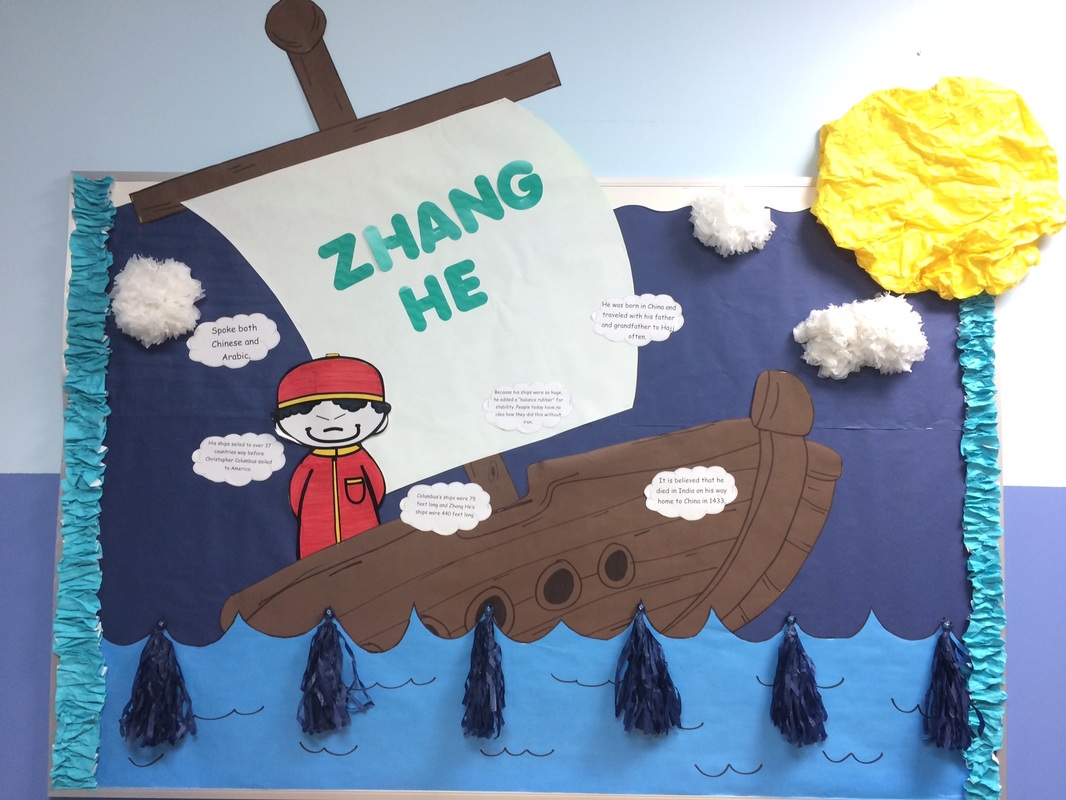
This is a fun and exciting way to display the Five Pillars of Islam in your classroom. Each pillar comes with a colorful Muslim child picture and a brief description of each of the pillars of Islam. Great for laminating and using year after year.  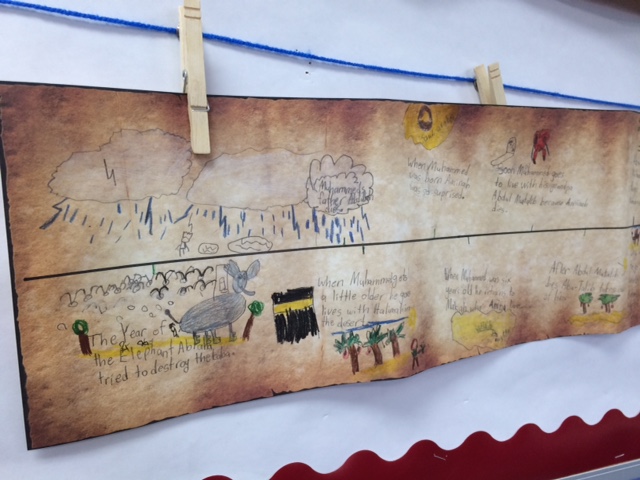 Each year after learning about the seerah of the Prophet Muhammed sallahu alayhi wa salam, I like to do a fun project with my 2nd graders. I change it every year. This year I decided to put them into groups and take all the events we learned about and put them into a timeline of the life of the Prophet Muhammed sallahu alayhi wa salam. The students first had to divide the jobs in the group (researcher, manager, writer, drawer, colorer, etc.). Then they began working on their rough drafts. They had to write a brief description of the event and a picture to go along with it. After they completed their rough draft they had to conference with me for editing. Once they got the okay they were able to begin their final draft. I got the cool scroll paper from my local teacher supply store, but you can find it here. Enjoy!
 I mentioned this fold at the ISNA West Coast Educational Forum this past January as being my favorite vocabulary fold. Since it still is ;-) I decided to share it. I love it for three simple reasons, it's so easy for the students to fold and remember how to fold, it can be folded up and glued in their journal, and it can focus on all the details related to one vocabulary term. At the beginning of the year I taught my third graders how to make it. I demonstrated it the first three times we used it naming it 'The Vocab Fold'. Then throughout the year I would tell them to make 'The Vocab Fold' and they would know what I meant. This eliminated having to demonstrate a new fold every time.
How it's used? Every unit has those few key terms that are so important to understanding the entire unit. As you can see in the picture above I place the key term in the center diamond (which will be created with the fold). Then in each of the four squares around the diamond important information is filled in centered around ONLY that term. Maybe you are teaching the story of Prophet Yunus AS. His name could be that key term placed in the center and in the four squares important events, details, a picture, or lessons learned can be in the four squares. It can be used in Arabic or Quran too. Put a word or letter in the center and come up with details for the students to fill in around the word or letter. How to make it? It's so easy! Take a sheet of any type of paper. Fold it down the middle (hamburger or hotdog). Then with your paper still folded, fold it down the middle the opposite direction. You should end up with a square that when you open it you have four squares. Now with it still folded into the square you have four corners of that square. Find the corner where the center fold is (the side that cannot be opened or the center of the page). At this corner fold it over facing the center of the square to create a small triangle (this creates the diamond in the center). Now open it all up and you should end up with a diamond in the center and four squares all around it. (stay tuned for a video demonstration). On the board I draw the paper and place things I want the students to fill in (I use it as an assessment). To store it students fold it back up into a square add glue to one side and glue it in their journals. When they need it they just open it up and have all the information needed. It can also be used for note taking. Enjoy!
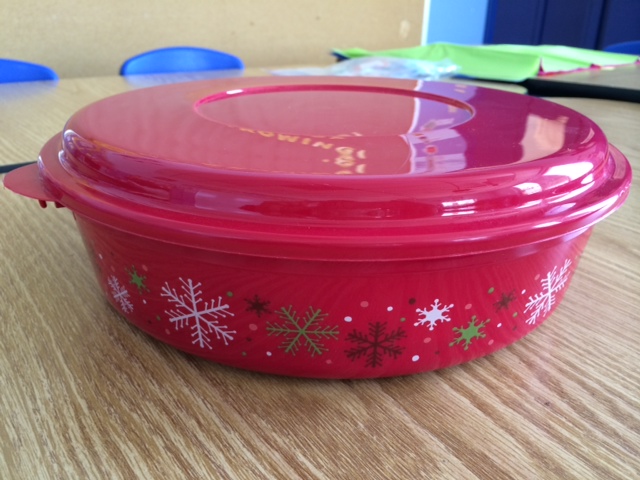
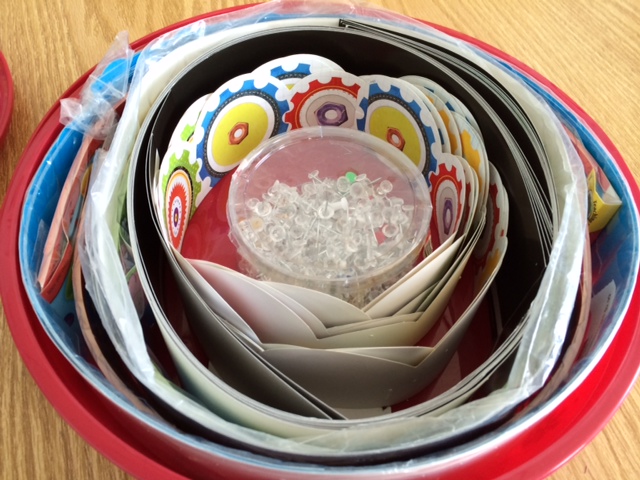
A great idea to store all those bulletin boarders is by using a plastic container with a lid. Walmart sales this type of container during every major holiday. It's for cookies but works great for boarders. It's easy to store and find. If you have a ton of them they stack easily too!
|